Unstructured play is vital to a child’s development. So communities, public areas, and even relevant businesses need a space devoted to creating playgrounds for children of varying ages.
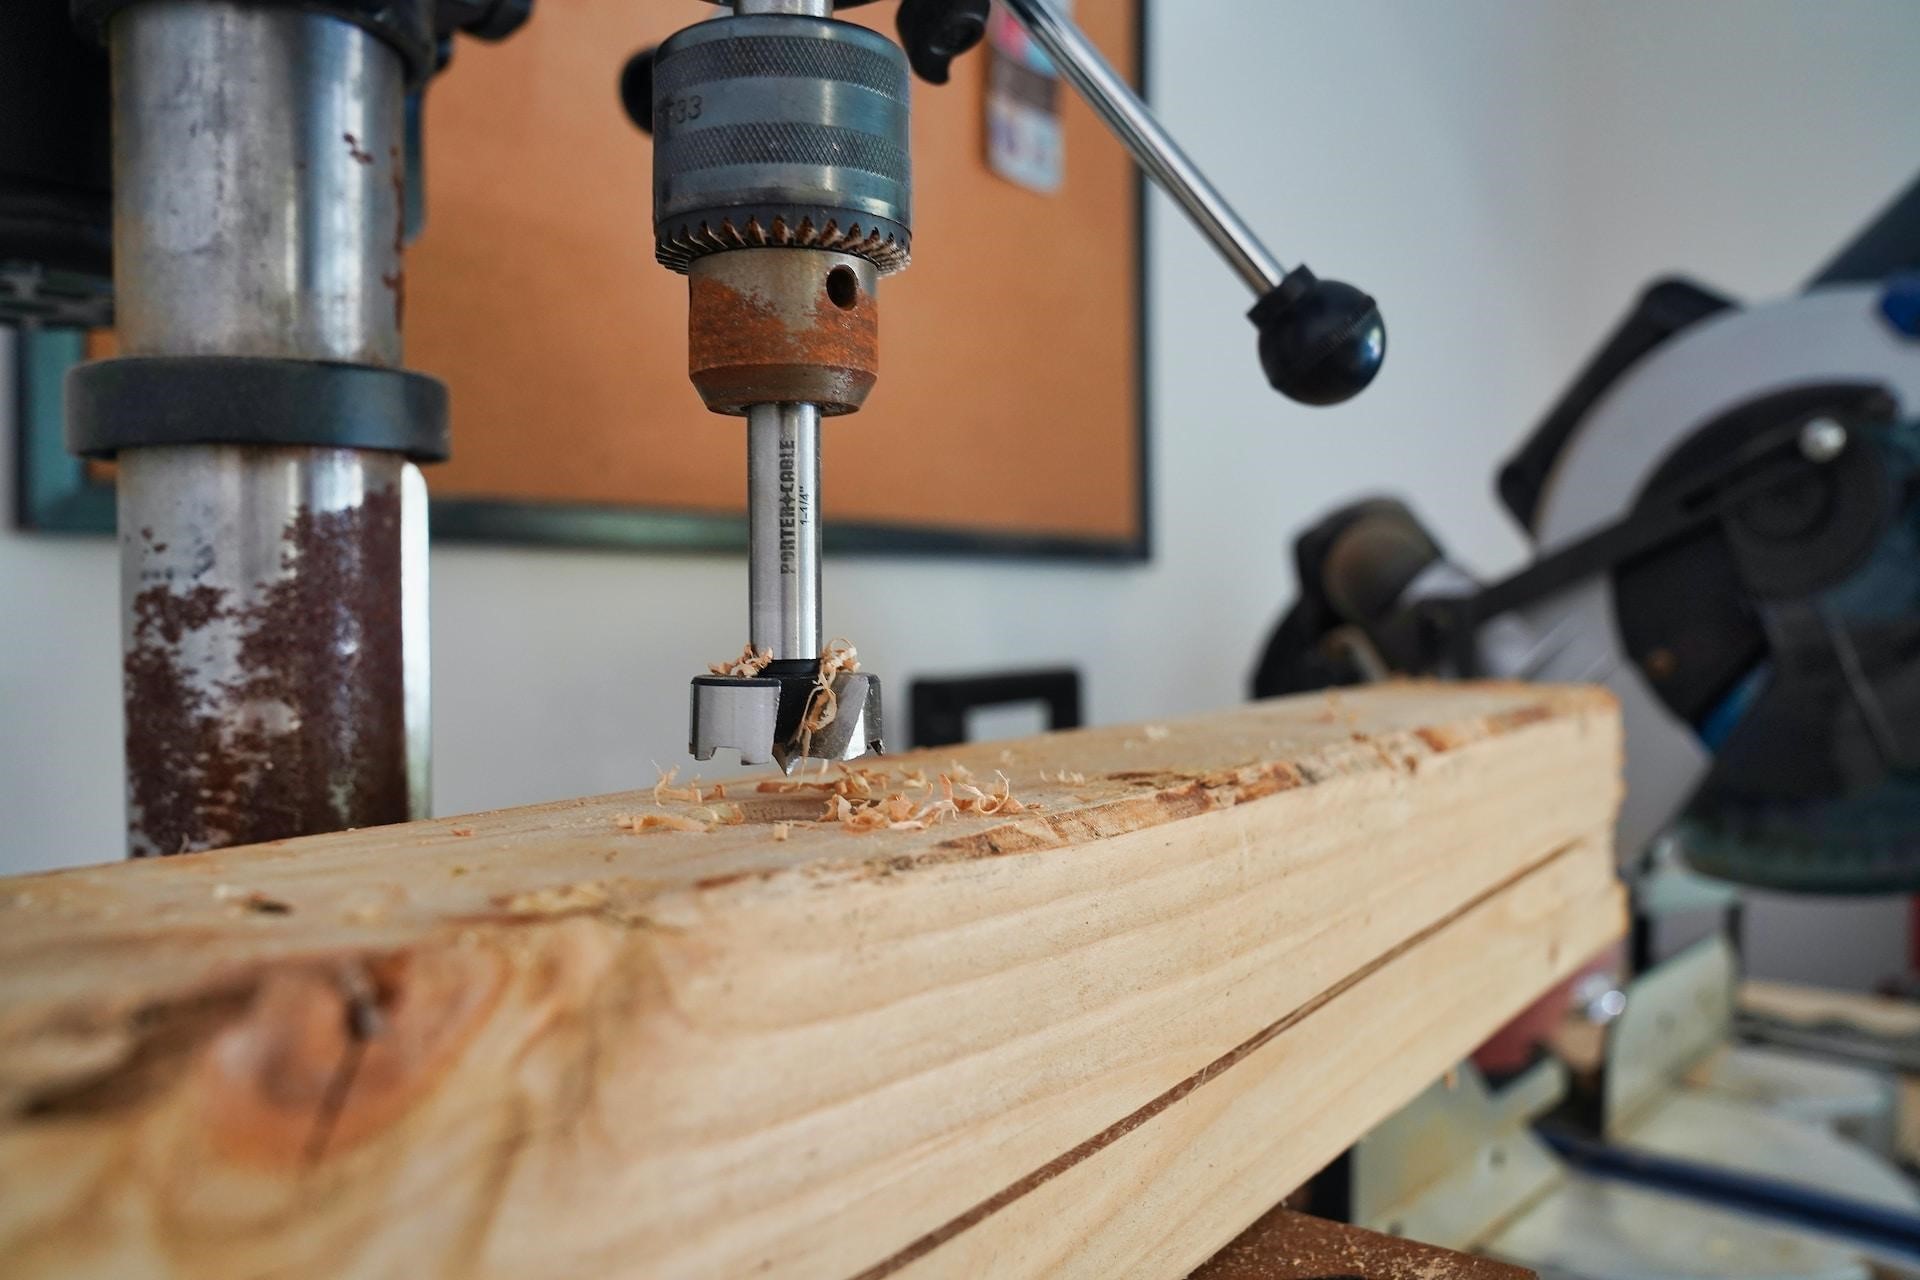
Creating custom play structures requires different kinds of machinery. However, This article will focus on using drill press to create traditional and non-traditional playground equipment.
Understanding Drill Presses
A drill press is a wood-cutting machine used to create a hole in the stock. It’s an indispensable tool when it comes to crafting custom backyard play structures for businesses in need of precision and efficiency.
The drill press has four main parts. First, there’s the drill bit, the metal tool that does the cutting. At the heart is the motor, which determines the drilling power.
The spindle and chuck are components that hold the drill bit in place. Lastly, there is a table and base. Together, these ensure that the machine remains steady to create uniform holes.
Types of Drill Presses
Benchtop Drill Press. This machine is compact and ideal for use in workshops with limited space. The benchtop drill press is portable without compromising power.
Floor Drill Press. The floor drill press is suitable for larger projects. It’s most useful for businesses aiming to create expansive play structures.
Radial Arm Drill Press. This machine is the most versatile of the three. The radial arm drill press can be maneuvered horizontally and vertically, enhancing precision in various drilling applications.

Setting Up the Drill Press Safely
Setting up the drill press begins with installing the drill bit. Choose the right drill bit size for the task at hand. Installing it securely in the chuck prepares the drill press for crafting holes with the desired dimensions in play structure materials.
Next, tailor the drill press settings to match the material and hole size requirements of the play structure components. Adhering to these specifications ensures accuracy in the drilling process.
Before initiating the drilling process, securely clamp the play structure materials to prevent any movement. This precautionary step ensures precise drilling and minimizes the risk of accidents.
Prioritize safety by ensuring all workers wear the necessary personal protective equipment, including safety glasses and hearing protection, safeguarding them from potential hazards during the construction of play structures.
Selecting Materials for Play Structures
The choice of wood is paramount in constructing sturdy and durable play structures. Opt for varieties specifically designed for outdoor use, such as cedar, redwood, or pressure-treated lumber. These woods boast natural resistance to decay and insects, ensuring the longevity of your play structures.
Check for proper kiln drying to minimize warping and ensure dimensional stability. Additionally, treat the wood with a reliable outdoor sealant or preservative to enhance its resistance to the elements, safeguarding it against rot and decay over time.
Choosing Hardware
When it comes to screws and bolts, choose corrosion-resistant options to withstand outdoor conditions. Also, select fasteners that match the thickness of the wood components. Stainless steel screws and galvanized fasteners are particularly resilient to corrosion, making them ideal for play structures exposed to the elements.

Designing and Building Custom Play Structures
Sketching your design ideas allows you to visualize the play space and tailor it to the preferences of the children who will enjoy it. Next, apply precision measurements so all connecting parts fit securely and make that merry-go-round in the playground sturdy and safe. Transform your sketches into actionable plans by delving into the technical aspects of spacing and dimensions.
Attention to detail is key when assembling different parts of a play structure. Whether it’s swings, slides, or climbing components, secure them according to the specifications outlined in your design.
Incorporate personalized touches based on your initial sketches and feedback from the intended users. This final step transforms your creation into a cherished and engaging backyard haven for children.
Finishing Touches and Safety Checks
When crafting custom play structures with precision, the journey doesn’t end with the drill press. To ensure these creations are functional and safe for the intended users—children—attention to finishing touches and safety checks is paramount.
Sanding and Smoothing Edges
Child-friendly surfaces are a non-negotiable aspect of any play structure. Employing effective sanding techniques ensures edges are splinter-free and enhances the tactile experience for children.
Applying a weather-resistant finish further fortifies the structure against the elements. These finishes extend the play structure’s lifespan and maintain its aesthetic appeal over time.
Conducting Safety Inspections
Safety becomes a top priority as businesses delve into the realm of constructing play structures. Conducting thorough safety inspections and following a detailed checklist is a crucial step. Checking for sharp edges and protrusions ensures the play structures are free from potential hazards, promoting a secure environment for children.
Verifying structural stability is equally imperative. Through rigorous safety inspections, businesses can guarantee that the custom play structures are robust and durable, capable of withstanding the exuberant play of children for years to come.
Conclusion
Crafting custom play structures is a meticulous process that demands a nuanced understanding of drill presses. Choosing the right type, mastering key features, and implementing safety measures are crucial.
The care and precision applied during the construction of custom play structures extend beyond the initial stages. It encompasses the entirety of the project, right down to conducting the necessary safety checks that will deem it fit for use.
